Guides
How to run an industrial tour route check before your first departure
Industrial tour operator basics checklist for 2027 covers permission, route control, visitor expectations, guide roles, emergency contacts, and operating records.
What to take away
- Confirm the site agreement before announcing dates.
- Test the visitor route in the conditions the group will encounter.
- Give every guide a current contact list and decision path.
Use this checklist before launching or renewing an industrial tour. It turns an informal itinerary into an operating plan that a guide, host, and reservation partner can follow.
Site and route checklist
Pre-Sale Site and Route Checklist
- Permissionowner approval, dates, rooms, route, group limit
- Routemeeting point, stops, exits, restrooms, alternate
- Accessstairs, surfaces, seating, assistive needs, alternatives
- Guide rolefacts, restricted areas, contacts, escalation duties
- Change planclosure, weather, late arrival, medical, alarm
| Item | Confirm before sale | Keep on file |
|---|---|---|
| Permission | Owner approval, dates, rooms, route, and group limit | Signed agreement or current email approval |
| Route | Meeting point, stops, exits, restrooms, and alternate route | Dated map and route test notes |
| Access | Stairs, surface changes, seating, assistive needs, and alternatives | Visitor-facing access description |
| Guide role | Facts, restricted areas, contacts, and escalation duties | Current guide packet |
| Change plan | Closure, weather, late arrival, medical concern, or alarm | Day-of contact sheet |
Walk the route before the public does
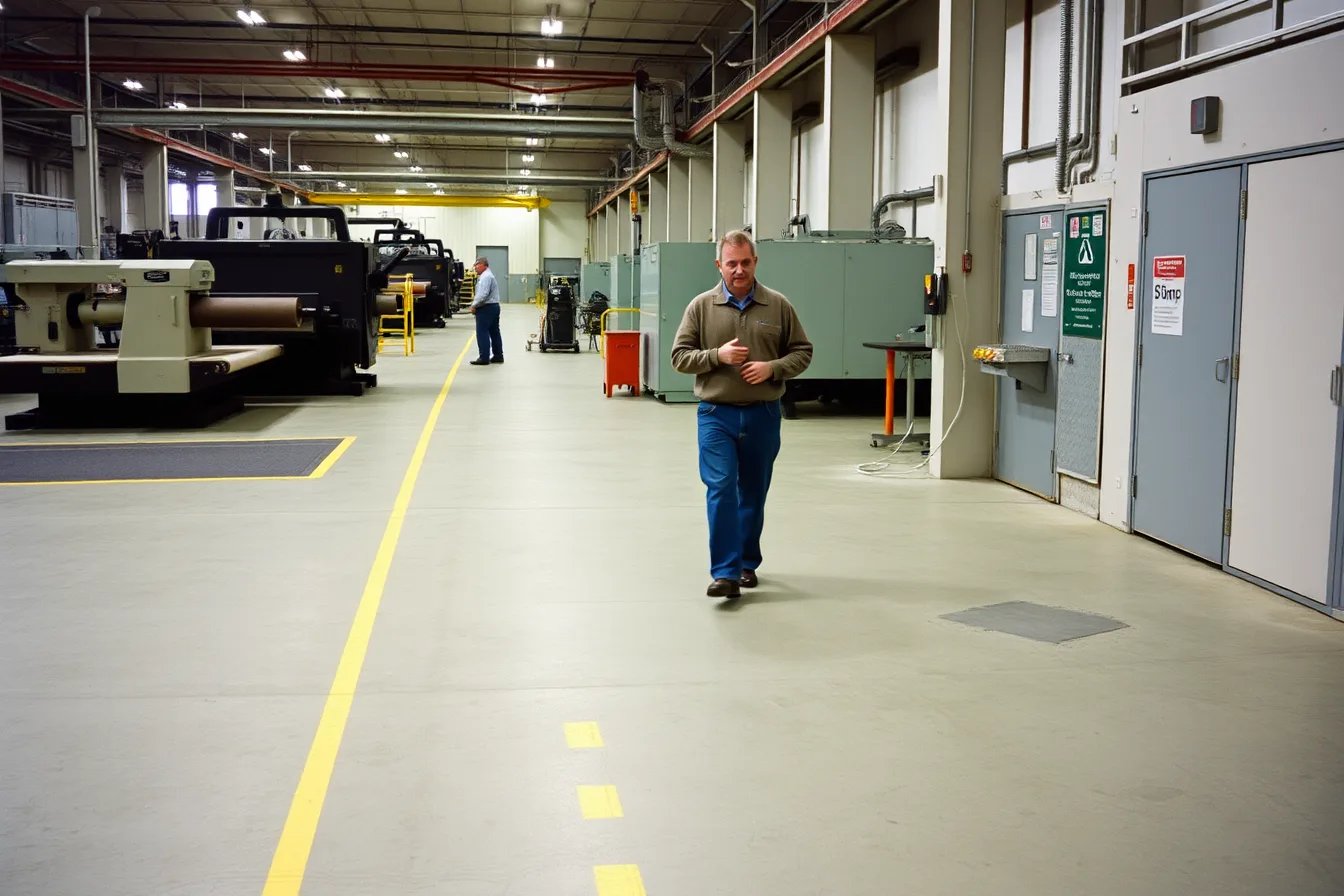
Walk at the same time of day as the scheduled visit. Check the places where a group gathers, crosses, waits, listens, and exits. Notice noise, vehicle movement, temporary equipment, glare, and any shift in the site routine. Record what the group experiences rather than what an individual can manage alone.
The Occupational Safety and Health Administration guidance on walking-working surfaces focuses on protecting employees from hazards encountered on those surfaces. A public tour does not automatically fall under that manual's internal program, but the practical lesson applies: identify route hazards, communicate them to the responsible site contact, and do not treat a familiar walkway as safe simply because staff use it every day.
The U.S. Access Board's accessible-routes guide describes how accessible routes connect elements and spaces. It does not approve a particular tour. It gives the checklist a useful test: review the full visitor path, including arrival and exit, rather than writing a broad access statement with no route detail.
Use this launch sequence
- Confirm written site authority and current insurance or access requirements.
- Test the route with the planned group size.
- Write the booking description in plain language.
- Train guides on the current route and escalation contacts.
- Run a short pilot and record questions, delays, and access issues.
Check the visitor message
The booking page should state exactly where to meet, when to arrive, what footwear or identification may be needed, whether photography is restricted, and what happens if part of the site closes. Replace broad phrases such as "easy walk" with usable information about stairs, distance, or standing time.
The National Park Service's wayside exhibit guidance discusses interpretive material placed where visitors encounter a resource. The same placement principle helps here. Put arrival information before the visitor travels, and put a route-change instruction at the point where a group must make a choice.
Keep the checklist alive
Review it when a route, production schedule, building condition, or partner changes. A checklist is not a one-time approval form. It is the record that helps the next guide recognize what has changed and who needs to approve a new plan.
Add an exit and alternate-route check to every version. The Occupational Safety and Health Administration exit-route guidance says exit routes must remain unobstructed in covered workplaces. A host site controls a public visit, but the checklist should still identify who gives direction if the ordinary route changes.
Sign the route version before use
Record the route version, date, site contact, guide lead, and next review trigger. When a new guide receives the checklist, they should be able to tell what is current without reading a long archive of prior messages. Keep earlier versions with the planning file so a later change remains traceable.
Run a brief walk-through with the checklist before the first public date and after any material change. Test the meeting message, actual group movement, guide handoffs, and alternate path. Record not only what failed but also what was confirmed. That record makes the checklist useful to the person handling the next departure.
Keep the completed walk-through with the current route record for the season.
Brief the whole departure team
Before each departure, the lead guide should confirm the group count, host contact, current meeting point, route status, and any disclosed access arrangement that needs attention. The briefing can take a few minutes. It should produce one shared version of the plan. If the host has changed a restriction, record the change and give guides the same visitor wording. Do not rely on a message passed from one guide to another during arrival.
Common questions
Can a site approve a tour verbally?
It may, but a written record prevents confusion about dates, rooms, capacity, and responsibilities.
Who should own the day-of checklist?
The operator should assign one named lead, while giving every guide the current version and site contacts.
Does a small group need route testing?
Yes. Smaller groups still need a safe, understandable route and a plan for closures or visitor assistance.