Guides
Part of Factory trail case studies: the results and the conditions behind them
7 lessons from factory trail case studies
Start with a question rather than a place. Pick the anchor that can answer it, then follow the river, because the river is why the industry was there.
What to take away
- Begin with a question the trail should answer, not a list of sites.
- Choose one anchor that can answer it, then build outward.
- Follow the water. Rivers explain siting, power, transport and waste in one line on a map.
- Verify every small stop is publicly accessible before it goes in the plan.
Trails that work are built from a question. Trails that do not are built from whatever appeared in a search.
Step one: write the question
One sentence. What changed here, and why? Where did the material come from and where did it go? What happened to the people when it closed?
Any of those is enough, and the difference between having one and not is enormous. It decides which sites belong and, more usefully, which do not.
Step two: pick the anchor
Choose the one site that best answers the question, and let it be the fixed point.

A site where invention itself was the industry makes an unusually good anchor, because it makes the connection between technology and production explicit. The Wright brothers' work is interpreted at exactly that intersection, and the site's history covers the experiments, the workshop practice and the manufacturing that followed them.
Book anything that needs booking at the anchor first. The rest of the trail flexes around it.
Step three: follow the water
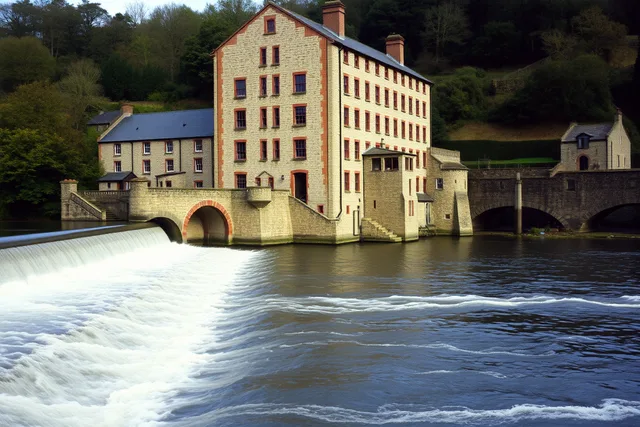
Almost every industrial region can be read from its river.
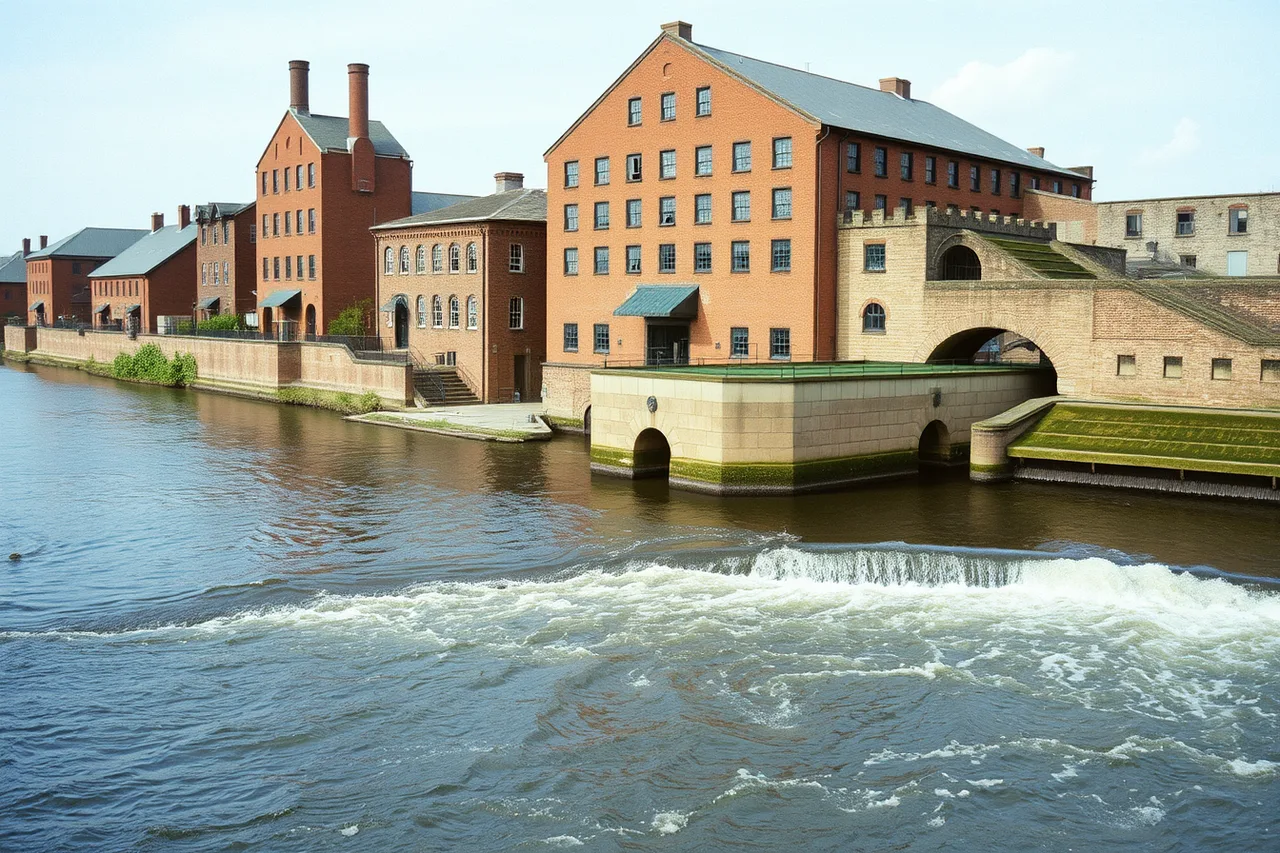
The National Park Service's rivers program covers how river corridors are managed and why they matter, and for trail planning the point is practical: a river gives you power sites, transport, mill towns and discharge points in one continuous line.
Trace it on a map from upstream to downstream and the natural order of the trail appears without further effort.
Step four: map the process onto the geography
Where did the raw material come from? Where was it processed? Where did the product leave from? Where did the waste go?
Put those four on the map. Whatever falls between them is your route, and the gaps show you what to look for.
Step five: verify public access
Every stop needs checking for three things: is it publicly accessible, is it open on your dates, and is it safe.
Fenced industrial ground is not a stop. A working plant without a booking is not a stop. A volunteer museum open on alternate Saturdays needs its actual calendar checked, not its published hours.
Step six: order the days
Anchor first or last, never in the middle. A trail that peaks on day one leaves the rest feeling thin, and one that peaks on the last day gives every earlier stop something to build toward.
Two hours of driving a day is the comfortable maximum. Three is a driving holiday.
Step seven: leave a gap
One half day with nothing in it. On a trail this is where the good things happen: a museum you did not know about, an owner who offers to show you round, a road worth driving twice.
What all this costs is set out in costs and budget, and the pattern the trail is meant to reveal is worth rereading once the route is drafted.